

Table of Contents
- What Causes T-Shirt Prints to Crack?
- How to Wash Printed T-Shirts to Prevent Cracking
- How to Prevent DTF Transfers from Cracking
- How to Fix a Cracked T-Shirt Print
- Fabric-Specific Care Tips for Print Longevity
- When to Repair and When to Replace Your Printed Tee
- Conclusion: Keep Your Custom Prints Looking New
- Frequently Asked Questions
Last Updated: October 5, 2026
What Causes T-Shirt Prints to Crack?
Heat is the biggest offender: high temperatures make the ink layer brittle, so it cracks along fold lines once it loses flexibility.
Then there's the wash cycle: hot water, harsh detergent, and heavy agitation wear down the print from the outside in.
Below, we'll break down how each print method behaves, how to wash printed t-shirts without wrecking them, and how to fix a cracked t-shirt print.
Heat, Stretch, and Wash Cycle Stress
Cracking rarely happens overnight. It builds through repeated exposure to conditions the print wasn't built to survive.
- Heat from dryers, irons, and hot water dries out the ink and transfer film
- Stretch happens when you pull a shirt over your head or tug it on
- Wash stress comes from hot water, harsh detergent, and rough tumbling
The fix is simple: reduce all four. Cold water, low heat, and gentle handling keep the ink flexible so it bends instead of breaks.
Print Method Differences: Screen Printing, DTG, DTF, and Vinyl
Not every print fails the same way. The method used changes how a design ages and what care it needs.
Screen printing lays down thick ink cured at high heat; it's durable but can crack if ink coverage is heavy or curing was uneven. DTG (direct-to-garment) soaks water-based ink into the fabric, so it fades more than it cracks. DTF transfer uses a printed film bonded with adhesive, and it's the most prone to peeling if press settings are off. Heat-transfer vinyl is a cut film that lifts at the edges when stretched or washed hot.
Here's how they compare:
| Print Method | Main Failure Mode | Care Priority |
|---|---|---|
| Screen printing | Cracking on heavy ink areas | Avoid high heat |
| DTG | Fading and washout | Wash cold, inside out |
| DTF transfer | Peeling and edge lift | Correct press, gentle wash |
| Heat-transfer vinyl | Edge lift and stretch cracks | No hot dryer, no stretching |
How to Wash Printed T-Shirts to Prevent Cracking
The short answer: turn the shirt inside out, wash it in cold water on a gentle cycle with mild detergent, and skip the dryer.
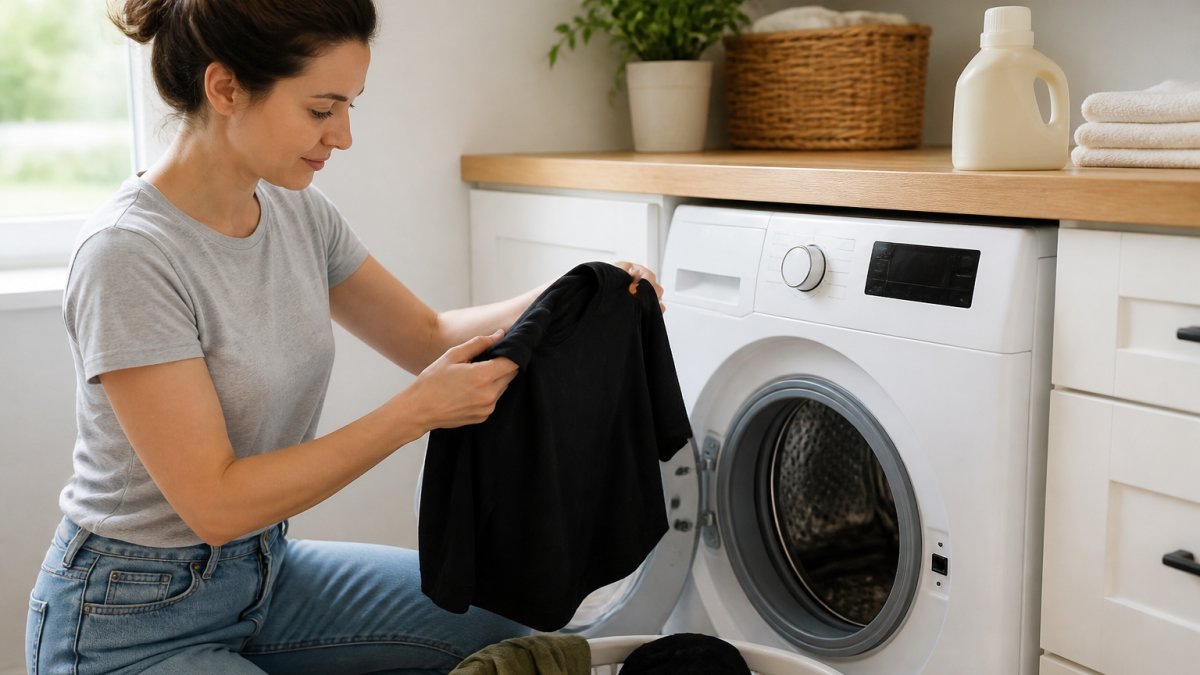
Most people treat a printed tee like any other shirt. That's the mistake. A graphic tee needs a little more care, and the payoff is a print that lasts for years instead of months.
Cold Water, Inside Out, and Gentle Cycle
Cold water keeps the ink from softening and re-hardening, which is what makes it brittle. Turning the shirt inside out shields the printed design from friction against other clothes.
- Set the wash cycle to cold and gentle
- Turn the garment inside out before it goes in
- Use a gentle detergent with no bleach or fabric softener
Hand washing is safest for a shirt you really love; if you can't, a mesh laundry bag adds protection.
Drying and Ironing Rules for Printed Shirts
Air drying is the single best habit for print longevity. Hang the shirt or lay it flat, away from direct sun.
If you must use a dryer, choose the lowest heat setting and pull the shirt out while it's still slightly damp.
For ironing, never press directly on the printed area. Turn the shirt inside out, or place a cloth over the design.
How to Prevent DTF Transfers from Cracking
DTF transfers crack and peel when the press settings or aftercare are wrong. Getting the press temperature, time, and pressure right is what makes a DTF print last.
DTF is popular because it holds fine detail and bright white ink. But the adhesive layer that bonds the transfer film to the garment is sensitive. Too little heat and it never fully bonds.
Press Settings That Make or Break DTF Prints
The press is where a DTF print is won or lost. Small changes in temperature, time, or pressure change how well the adhesive cures.
Most DTF film and powder manufacturers publish a recommended press window, usually about 300°F to 340°F (roughly 150°C to 170°C) for 10 to 20 seconds at medium-to-firm pressure.
Here is what each variable actually does:
- Press temperature: too low and the adhesive powder never fully melts into the fabric, so the print lifts at the edges after a wash or two. Too high and the film carrier and adhesive layer can scorch, which makes the print stiff and prone to cracking along fold lines.
- Press time: too short and the adhesive only partially activates. Too long and the film can yellow, the garment can scorch, and the print can develop a hard, brittle hand feel that cracks when stretched.
- Pressure: firm and even pressure is what pushes the melted adhesive into the weave of the fabric. Light pressure leaves air gaps under the transfer, which is one of the most common causes of edge lift and peeling.
After pressing, let the shirt air cure for a full day before the first wash, then wash cold, inside out, and air dry.
How to Test Whether a DTF Print Is Properly Cured
You do not need a lab to check a DTF print. A few simple tests will tell you whether the adhesive bonded correctly or whether the shirt is heading for a cracking problem.
- Stretch test: gently stretch the printed area sideways. A properly cured DTF print flexes with the fabric and returns to shape. If you see fine white lines appear along the stretch direction, the adhesive or film is too brittle and will crack with wear.
- Scratch test: after the print has cooled completely, scratch a corner lightly with a fingernail. If the print lifts or flakes, the bond is weak. If it holds, the cure is likely good.
- Wash test: wash one sample shirt from a batch before selling or gifting the rest. Use the same cold, gentle cycle your customers will use. Inspect the edges for lift after one wash. If the edges lift, your press settings need adjustment.
If a test fails, adjust one variable at a time. Raise temperature in small steps, increase pressure, or extend dwell time, then re-test. Changing all three at once makes it impossible to know which fix worked.
How to Fix a Cracked T-Shirt Print
You can sometimes fix a cracked t-shirt print, but the results depend on the damage. Faded and minor cracks respond better than deep splits or peeling edges.
A few options work for mild cases:
- Re-press with a cover sheet to soften and re-bond small cracks on heat-set prints
- Touch up with fabric paint matched to the ink color, then heat set it
- Use a transfer patch over badly cracked areas for a quick cover-up
Deep cracks that split the whole design usually can't be fully repaired. Once the ink layer is broken all the way through, re-pressing won't bring it back, replacement makes more sense than repair.
Fabric-Specific Care Tips for Print Longevity
The fabric under the print matters as much as the print itself. Cotton, polyester, and blends each hold ink, stretch, and react to heat differently, and matching your care to the material is one of the most overlooked ways to prevent print cracking.
How Fabric Behavior Drives Print Failure
Every print failure starts with a mismatch between the print and the fabric it sits on. Here is what happens at the fiber level:
- Cotton fibers swell when wet and shrink when heated. A print that was cured flat on dry cotton can be stressed when the shirt shrinks in a hot dryer, which pulls the ink layer apart along fold lines.
- Polyester is smooth and heat-sensitive. It holds DTF and vinyl transfers well because the surface is uniform, but polyester can scorch or melt at temperatures that cotton handles fine. A print on polyester that gets too much dryer heat can develop a stiff, brittle hand feel and crack.
- Blends combine cotton's absorbency with polyester's stretch. The fabric moves more than pure cotton, so the print has to flex with it. A print that cannot stretch with a blend will crack along the direction of pull.
Matching Care to Fabric Type
Use this as a starting point, then adjust based on how the shirt actually behaves:
| Fabric | Heat Sensitivity | Stretch Behavior | Care Priority |
|---|---|---|---|
| 100% cotton | Moderate; shrinks with heat | Low stretch | Cold wash, low dryer heat or air dry to prevent shrinkage stress |
| 100% polyester | High; can scorch or melt | Low stretch, smooth surface | Keep iron and dryer on low; avoid direct heat on print |
| Cotton/poly blend | Moderate | Moderate to high stretch | Gentle cycle, air dry, avoid over-stretching when wearing |
| Tri-blend (cotton/poly/rayon) | Moderate to high | High stretch | Hand wash or gentle cycle, air dry, handle print area gently |
A few practical rules follow from this table:
- Cotton shirts benefit most from air drying, because avoiding shrinkage keeps the print from being pulled apart. If you must use a dryer, use the lowest heat setting and remove the shirt while it is still slightly damp.
- Polyester shirts need the most heat caution. Even a medium dryer setting can be too hot for some polyester garments. Air drying is safest, and if you iron, use the lowest setting and never press directly on the print.
- Blends and tri-blends need gentle handling because the fabric stretches more. Avoid tugging the shirt over your head by the collar, and do not hang a wet blended shirt by the shoulders if the print crosses that area, since the weight of the wet fabric can stretch the print.
A Quick Fabric Check Before You Wash
If you are not sure what a shirt is made of, check the care tag, the fiber content is usually listed as a percentage. If the tag is missing or unreadable, treat the shirt as the most delicate option: cold water, gentle cycle, air dry, and no direct heat on the print. That approach is safe for every common fabric used in custom printed t-shirts.
When to Repair and When to Replace Your Printed Tee
Replace the shirt when the print is cracked all the way through, peeling across a large area, or faded past recognition. Repair is worth it only for small, surface-level damage.
Here's a quick way to decide:
| Damage Type | Repair or Replace? | Why |
|---|---|---|
| Minor surface cracks | Repair | Re-press or touch up |
| Faded color, no splits | Repair | Fabric paint can refresh it |
| Small edge peel | Repair | Re-press with cover sheet |
| Deep cracks across design | Replace | Ink layer is broken through |
| Large peeling area | Replace | Adhesive has failed |
If the shirt itself is still in great shape, a repair is usually worth a try first. If the fabric is also worn, thin, or stretched out, replacement is the better call.
Conclusion: Keep Your Custom Prints Looking New
Print cracking is preventable, and it comes down to a few habits: cold water, inside out, gentle detergent, and no high heat.
At Wild Doe Tee Co, we build custom apparel and curated gift boxes designed to be worn and loved, not babied.

Ready to create something that lasts? Shop with Wild Doe Tee Co and get custom apparel made to keep its look, wash after wash.
Frequently Asked Questions
How to keep t-shirt print from cracking?
Wash printed tees inside out in cold water on a gentle cycle with mild detergent. Avoid fabric softener and bleach. Tumble dry low or hang dry, and never iron directly over the print. These steps reduce heat and friction, the main causes of print cracking.
How to fix cracking print on tshirt?
You can't reverse existing cracks, but you can slow further damage. Turn the shirt inside out, wash cold, and air dry. For minor lifting, place parchment paper over the print and press with a warm iron for 10-15 seconds. If cracks are widespread, replacement is more practical than repair.
What causes t-shirt prints to crack?
Cracking happens when the ink or transfer film can't flex with the fabric. High heat from dryers or irons, harsh detergents, and stretching the print area all break down the bond. Under-cured prints can also crack prematurely because the adhesive never fully set.
How to keep DTF transfers from cracking?
Press DTF transfers at 150-160°C (300-320°F) for 10-15 seconds with medium pressure. Peel while warm or cold depending on the film. After pressing, wash inside out in cold water and avoid high dryer heat. Proper curing and gentle care keep the transfer flexible and crack-free.